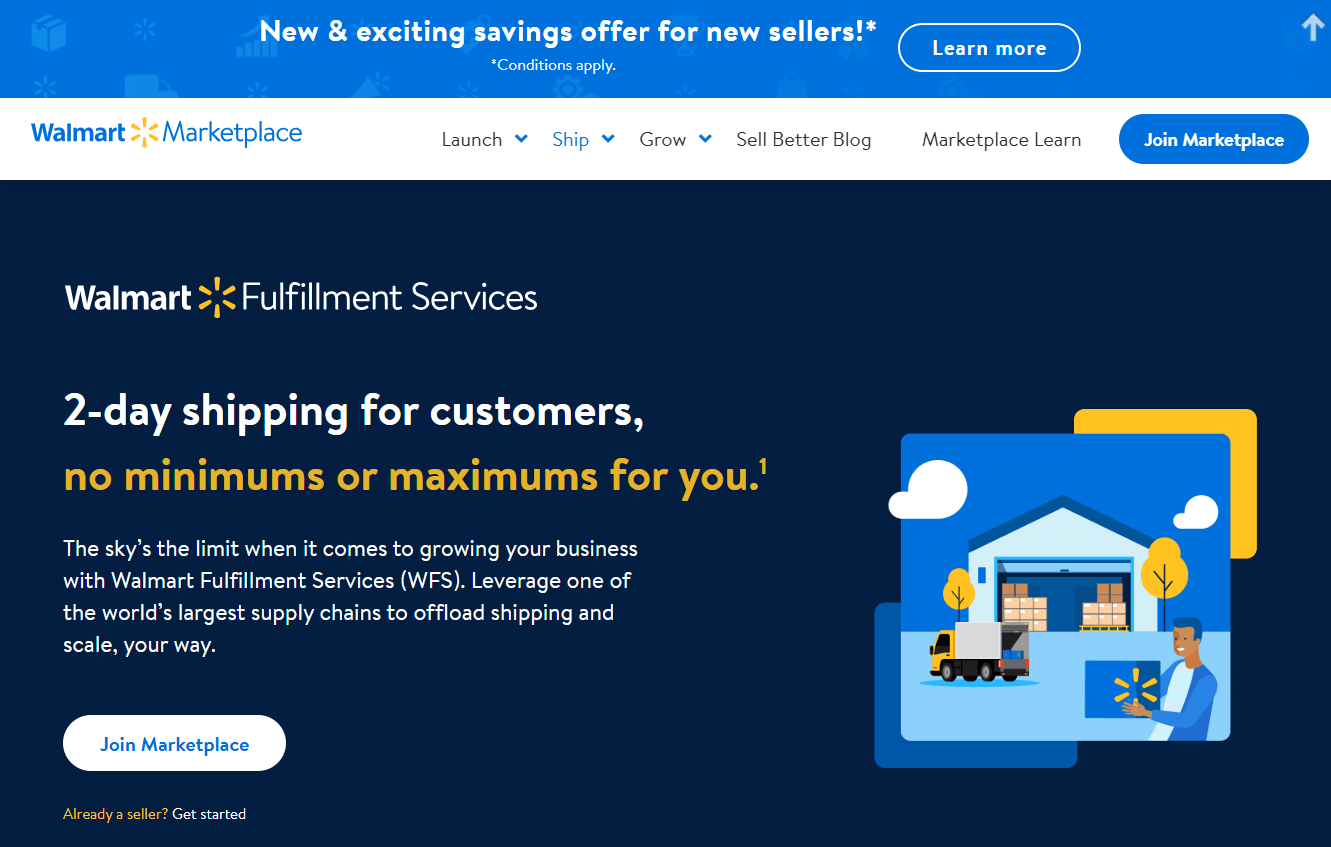
When adding products to your store on Walmart Marketplace, you need to choose between two fulfillment options: Walmart Fulfillment Services (WFS) or Seller Fulfilled.
With Seller Fulfilled, you’re responsible for everything—packing, shipping, handling returns, and dealing with any customer service hiccups that come up. WFS, on the other hand, lets you offload all of that to Walmart.
They store your inventory, ship it out fast, and handle returns and customer service for you. It’s like putting your online business on autopilot, especially if you’re flipping products at scale and want to stay organized without the shipping chaos.
My advice? Go with WFS whenever you can. Why? Because it takes a whole lot of stress off your plate. According to Walmart, WFS sellers experience up to 50% increase in sales after enrolling eligible items into their fulfillment system.
Plus, WFS-fulfilled listings are Prime-style fast. They qualify for Walmart’s 2-day shipping badge, which customers love.
With WFS, Walmart handles the packing, shipping, and even returns, so you don’t have to. That means you can focus on sourcing, repricing, and scaling without spending hours taping boxes or dealing with post office runs.
What Makes an Item WFS-Eligible?
Before you can start sending your products to Walmart’s fulfillment centers, you’ll need to make sure they’re eligible for WFS. Not every product qualifies, so checking these requirements ahead of time can save you a lot of back and forth.
First, your product must already be listed for sale on Walmart Marketplace. If it’s not published or approved yet, you won’t be able to enroll it in WFS.
Next, the product must be non-perishable and not require temperature control. So, food, certain cosmetics, and temperature-sensitive items are a no-go.
Walmart also maintains a list of restricted or prohibited products, including things like explosives, live animals, and prescription drugs. If your item falls into one of those categories, it can’t be fulfilled through WFS.
Each item must also have a valid Global Trade Item Number (GTIN), which is usually in the form of a UPC, EAN, or ISBN. This code helps Walmart track and manage inventory accurately.
For example, if you’re selling a Bluetooth speaker, the UPC on its packaging will serve as its unique GTIN. Without this, Walmart can’t identify or list your item properly.
Lastly, there are size and weight restrictions. Items generally need to be under 150 pounds in weight and shorter than 108 inches in length to qualify. So, while a laptop bag or kitchen blender might be perfect for WFS, a giant patio set or oversized treadmill probably won’t make the cut.
Checking all these boxes ensures your product is eligible, and once approved, you can ship your inventory to Walmart’s warehouses, let them handle fulfillment, and start focusing on what matters most: growing your sales.
How to Add Products to Your Walmart Marketplace Store
Now, let me walk through the two main ways to add inventory and determine if they’re WFS-eligible: single uploads and bulk uploads.
These methods are fairly straightforward once you’ve done them a few time, but I’ll also drop some lesser-known pro tips that can help you avoid common mistakes and save a lot of time.
Option 1: Single Uploads (One Item at a Time)
This method is great if you’re testing out a few items or adding products one by one. Here’s how to do it, step by step:
- Log into your Walmart Seller Center and go to your Catalog (left-hand side of your dashboard).
- Click “Add Items” in the top-right corner.
- In your catalog, you’ll notice three fulfillment statuses:
- Seller Fulfilled – You handle packing and shipping yourself.
- WFS Eligible – Walmart recognizes the item can be fulfilled through WFS, but it hasn’t been enrolled or is out of inventory.
- Walmart Fulfilled – Your item is already in Walmart’s warehouse and ready for fast shipping.
Pro Tip: When searching for the item you want to list, don’t rely on the product name—it can lead to errors. Instead, copy the Item ID from the product’s page (you’ll find it on the right-hand side).
- Go to the Express Setup page and paste that Item ID into the search bar, then hit Enter.
- Click Add and Submit.
- Fill out the required fields:
- Fulfillment Option: Select Walmart Fulfilled
- SKU (create a unique one if needed)
- Selling Price
- Prop 65 compliance
- State Restrictions
- Country of Origin
- Hazardous materials, battery or electronic component details
Pro Tip: Fill everything in—even if some fields don’t apply. For example, even if your product has no state restrictions, still select “No” instead of leaving it blank. Incomplete forms are one of the most common reasons uploads fail.
- Go to your Activity Feed to check the status. It’ll usually show as “Pending” for a few minutes. Hit refresh to see updates.
- If there’s an error, an eye icon will appear in the error section. Click a button to the right to download a report that explains what went wrong.
- Once it’s successfully added and marked as Published, it means:
- You’re not gated for that item (you’re approved to sell it).
- You can sell it at your listed price.
Pro Tip: Some sellers miss this, but “Published” doesn’t mean it’s in Walmart’s warehouse yet. It just means you’re approved to sell it and you’ve successfully submitted it. You still need to send inventory.

Option 2: Bulk Uploads (Up to 10 Items at a Time)
This is ideal if you’re adding multiple products and want to speed things up. Here’s how you do it:
- From your Catalog, click “Add Items.”
- Instead of pasting individual Item IDs, scroll below the search bar and click “Upload in Bulk.”
- Choose “Match Walmart Catalog”, then select “Walmart Fulfilled.”
- Copy the GTINs (usually UPCs) from your chosen products. Add two zeroes in front of each UPC, then paste them into the box separated by commas.
Pro Tip: That “two zeroes before the UPC” trick? It’s required to match the system’s expected GTIN format. Forgetting this tiny step causes many sellers to run into matching errors.
- Click “Download File” to generate your editable spreadsheet.
- Go to your File Manager and download the latest file (look for the cloud icon).
- Open the file and fill out all the required fields:
- SKU, price, fulfillment type, state restrictions (Yes/No), etc.
Pro Tip: Even if an item has no restrictions or hazards, don’t leave the cells blank. Enter “No” or “None.” Walmart’s system prefers explicit answers.
- Save your updated spreadsheet and go back to the bulk upload tool.
- Click Next, then Import Items to upload the file.
- Head to your Activity Feed to see if it processed correctly.
- Finally, check your Catalog to verify which items are now WFS eligible and fix any that triggered errors.
Additional Tips
Here are a few extra tips that most Walmart Marketplace sellers overlook but can make a big difference. First, take advantage of Walmart’s Listing Quality Dashboard. It helps you check if your listings meet visibility best practices.
Products with clear titles, bullet points, and strong images tend to get approved faster and perform better in search. Also, try to avoid changing the SKU after you’ve submitted an item. This can cause listing errors or duplicate entries that are a hassle to clean up.
If you’re using bulk uploads, start small. Even though the system allows up to 10 items per batch, uploading just 3 to 5 products the first time gives you a chance to spot and fix any formatting issues before they become a bigger problem.
And remember, just because your listing is published doesn’t mean you’re winning the Buy Box. Keep an eye on your Buy Box performance and stay competitive with pricing and fast fulfillment, especially if you’re using WFS.
Lastly, make it a habit to check Walmart’s inventory health reports. These reports show you which products are moving and which ones are sitting idle. It’s a useful way to avoid paying unnecessary storage fees for items that aren’t selling.
Adding your products and making them WFS-eligible doesn’t have to be overwhelming. Once you understand how the system works and start applying these practical tips, it becomes a routine part of your flipping workflow.
The smoother your process, the more time you’ll have to focus on sourcing better products and growing your business.